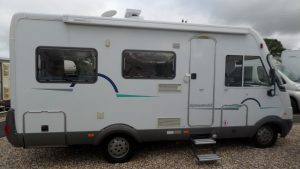
George here talking about the 59 things to look for when buying a Hymer motorhome

Hymer Buying Guide: Use My 59 Point Checklist To Avoid A Buying A Lemon

Hymer Buying Guide

Intro

Buying a second hand Hymer will cost you anywhere from £7,5000 to £35,000.

It’s a lot of money to fork out!

So, you definitely want to do your due diligence. Don’t worry! We’ve got your back with this Hymer buying guide checklist. 

Simply have this post up on your phone while viewing a Hymer and go through the checklist.

I recommend writing down the bad points (e.g. fridge not working on gas) as you go in a notebook. This will help you make a “buy” or “not buy” decision, and also help reduce the price during your negotiations (list off the things that need work, that you’ve written down in your notebook, and say you’ll need to spend XYZ pounds fixing them all). 

The good news is that most Hymer motorhome owners are knowledgeable about their Hymers. That’ll make your work going through the checklists below a wee bit easier. 

Dampness Checklist

Signs Of Damp Motorhome

Below is the dampness checklist…

Hymer motorhomes use a build system called PUAL (Polyurethane Aluminium).

The walls and roof panels are composite construction: aluminium skin, high-density polyurethane insulation with marine ply inner board, later upgraded to aluminium. There is no structural timber to rot. The polyurethane insulation will not allow water or dampness to permeate.

That means damp is rarely a problem for Hymer motorhomes and is usually an easy repair, however, it still needs to be checked. When looking for damp, check for tell-tale discolouration.

Check around the windows.

Check around the doors.

Check around the lockers.

Check for signs of leaking above the drop-down bed.

Check the underfloor behind the rear wheels.

Check for rot on the plywood floor.

Washroom & Kitchen Checklist
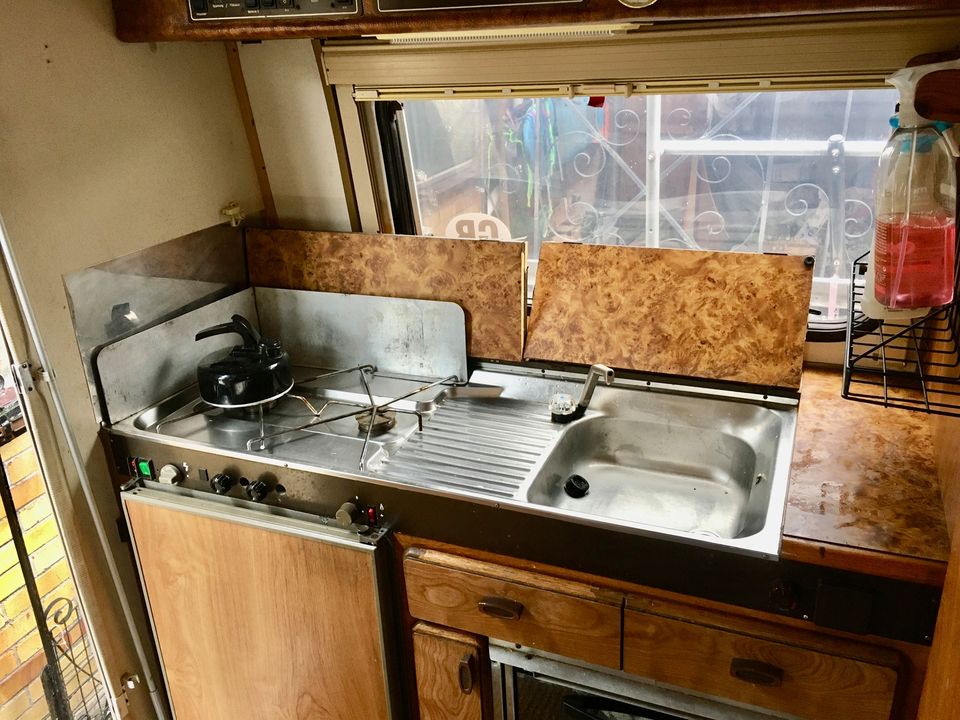
Below is the Washroom and Kitchen checklist…

Check the shower tray and washbasin for cracks or any signs of wear, particularly on the top edge of the basin, around the plug holes of both and in the corners of the shower. These are all costly items to replace.
 
Check the mixer taps in both the basin and kitchen (and shower) and ensure they are working and not leaking around the stems. or underneath.
 

Check that the toilet cassette is clean and empty. 

Check that the flushing works properly.

Roof Lights & Windows Checklist

Below is the roof lights and windows checklist…

Check the roof lights and windows wind up and down smoothly and are not cracked or leaking. Signs of leaking are discoloured roof lining around the window.
 
Check each window opens and locks properly. There is a grey slider on each window that operates the side catches. It is prone to breaking and costs approximately £50 for new parts.
 
Check the window blinds. Both fly screens and black-out blinds should move up and down smoothly and have no holes or tears.

Appliances Checklist

Below is the Appliances checklist…

Check cooker that all burners light.

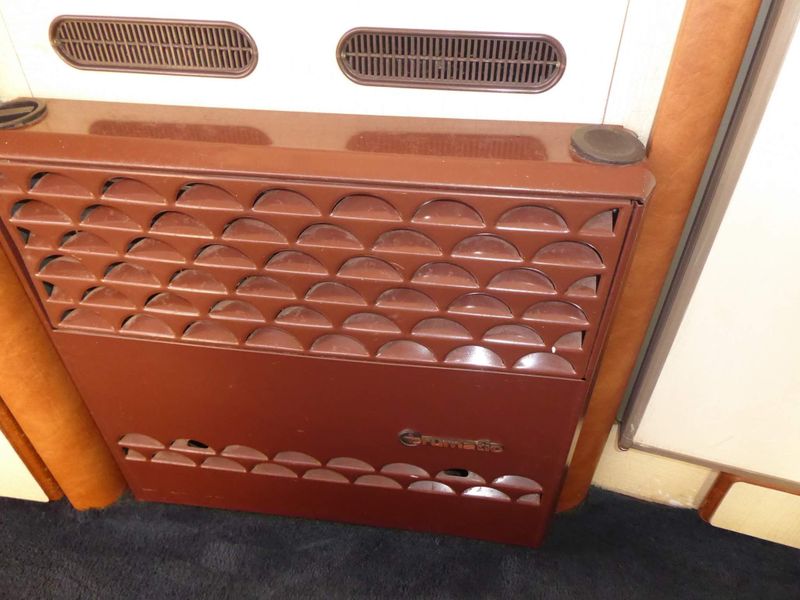
Check the heating system to ensure you get both hot water and warm air heating. It is important you see the heating system working because a new boiler will cost you £2,000+. 
 
Check the fridge. Ask to see it working on gas. It should light easily, to check if it’s lit, hover a hand over the top outside vent (it will be warm). 
 
Check inside the freezer by putting a hand inside (it should be getting cold after a few minutes of being turned on). 

Beds & Upholstery Checklist

hymer b534 bed

Below is the Beds and Upholstery checklist…

Check the drop-down bed. Pull down then push up. It should go up quite easily. If it’s very heavy the gas struts may need to be replaced?
 
Check the mattress condition. A new mattress can set you back £250 to £700. 
 
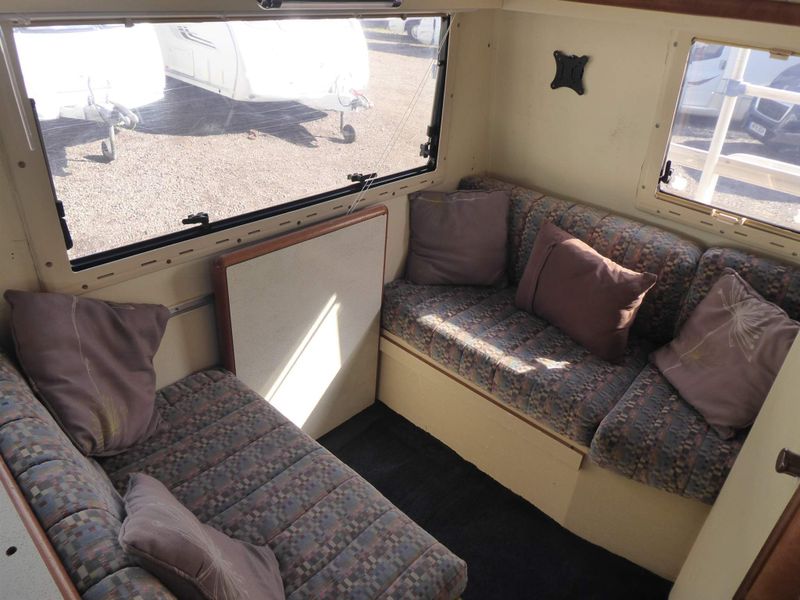
Check upholstery for signs of heavy wear and or sagging. Reupholstering is a costly affair. Expect to pay anywhere from £1000 to £2000. 

Electric Step Checklist

Below is the Electric Step checklist…

Check that the electric step moves up and down smoothly.
 
Check that the Step-down Buzzer sounds when the engine is started and the step is still out.

Batteries Checklist

Below is the Batteries checklist…

Check with the owner when the leisure batteries were replaced.

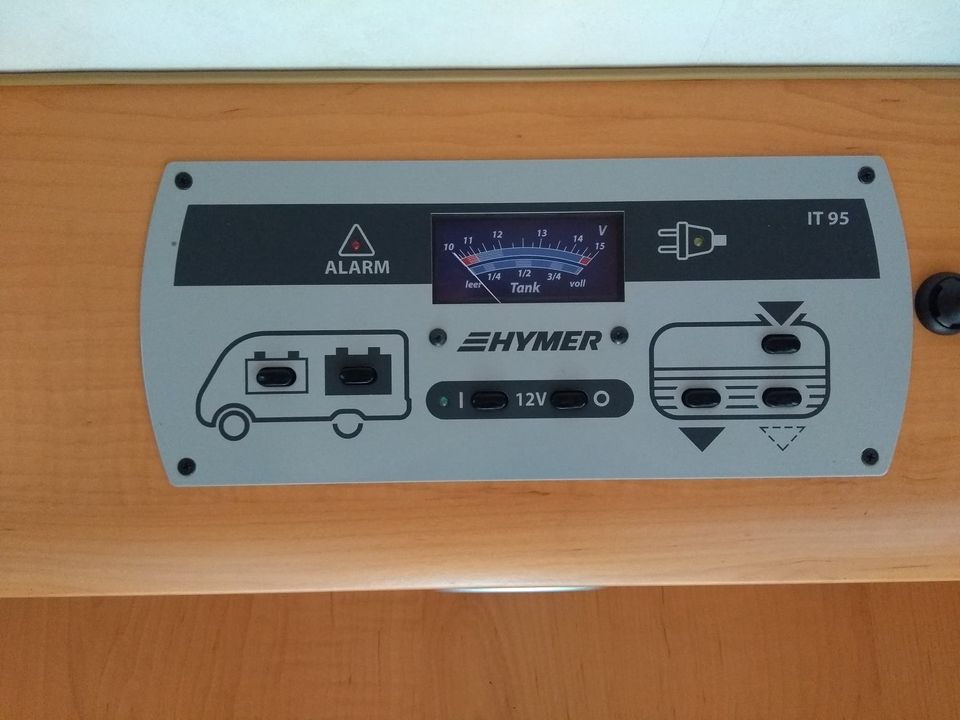
Check battery voltage on the panel meter above the door. If unsure, ask the owner to show you. When fully charged it should be reading 12.6v or above.

Check if only one leisure battery is fitted, and budget for a second to be bought and fitted. It’ll cost approximately £200 for the battery and fitting it. It’s crucial to have two leisure batteries if you’re going to be wildcamping. If you use the motorhome without hookup for more than a day or two at a time, especially when cold and dark, without moving on or running the engine for several hours, two batteries will extend your off mains use by double. They will also take longer to recharge by the engine which is why having a solar panel comes into its own. If, however, you don’t camp off-site or away from a mains hookup, you won’t ever need more capacity than the one leisure battery. 

Check the solar panel (if there is one) for any damage. Typically, broken solar panels are damaged due to weather hail and debris from extreme winds. (twigs, leaves, dirt and sand can be blown across the glass of solar panels). If you can’t climb onto the roof, then you’ll need to trust the owner. Solar panels are surprisingly robust, so they should be okay.  

Gas Locker Checklist

Below is the Gas Locker checklist…

Check the condition of the gas hoses.

Check for cracks and a good connection.

Awning Checklist

Below is the Awning checklist…
 
Awnings are often forgotten about during viewings, and that is a mistake because it will cost you approximately £700 for supply and fitting. 
 
Check that it opens fully
 
Check that it opens easily
 
Check for damage to the support arms (It should wind in easily and evenly).

Engine Bay Checklist

Below is the Engine Bay checklist…
 
This may seem a bit daunting if you’re not a mechanic, but you don’t need to be. Just check the basics.
 
Check levels of oil.
 
Check levels of coolant.
 
Check levels of power steering
 
Check levels of transmission.
 
Check levels of the washer bottle.
 
Check for signs of leaks.
 
Check the condition of hoses and wiring.
 
Check with the owner when the cambelt was replaced. It will need to be replaced every 4 to 5 years. The coach builds, like the Hymer B544, are easier to change than an A-class. You can expect to pay somewhere in the region of £250 for your cambelt change. 
 
Check for any unhealthy sounding noises when you start the engine up.

Lockers (External Storage) Checklist

Below is the Lockers checklist…
 
Check every locker door by opening and closing it.
 
Check that the door can be fully locked (it’s common for one or more of the lockers to not lock fully)
 
Check the alignment of the lockers.
 
Check that all the seals are well fitted and working.
 
Check for water access by lifting the locker seals.

Tyres Checklist

Below is the Tyres checklist…
 
Check wear and signs of cracking on sidewalls.
 
Check the age by looking for the four-digit date stamp – the first two numbers are month numbers, the second two are year (e.g. 0716 is July 2016). If they are more than 7 years old, irrespective of tread depth, take them in for replacing.


Chassis Checklist

hymer B544 outside view
Below is the Chassis checklist…
 
Check for rust on non-ALKO models (ALKO is the more modern chassis). How do you know if you have an ALKO chassis? Good question. Your Vin number plate should show the vehicles chassis type, axle type and the maximum axle load. Another way of identifying your chassis is by viewing the rear of the motorhome. If you have leaf springs on the rear, you have an AL-KO chassis.
 
On Fiats, check the front cross member for rust. The cross member is usually mounted under the radiator. What the heck is a cross member, I hear you ask. It’s a structural section, usually of steel, usually boxed, that is bolted across the underside of a motorhome, to support the internal combustion engine and/or transmission.
 
If the Hymer has an Alko chassis ask for confirmation or proof the annual axle grease service has been done. This is a yearly action and expensive if it fails.
 
Also, have a mooch around underneath for rust, leaks, and dampness. 
 

Spare Wheels Checklist

Hymer Spare Wheel Checklist
Below is the Spare Wheels checklist…
 
Check that the spare tire is in good condition.
 
Check that the wheel brace, jack and (if fitted), locking nut socket are all present.

Keys Checklist

Hymer Keys Checklist
Below is the Keys checklist…
 
Check you have all the habitation door and locker keys (they use the same keys). There should be two sets.
 
Check you have a red key (older Fiats have a Red key that is required if you ever need a new key). 
 
Check the alarm fob is present and working (if an alarm is fitted). 

Service History Checklist

Below is the Service Record checklist…
 
Check that it has been serviced every year (ask for receipts).
 
Check MOT history online.
 
Check mileage against MOT records. 
 
Check HPI (vehicle history) and ask, “Has it ever been in an accident?” (the seller is not obliged to tell you, but when asked has to give an honest answer). The HPI is a vehicle check that will search for outstanding finance if it’s been stolen, is an insurance write off, and give you the original chassis number. 

Final Thoughts

Take your time with all of these checks, because parts for Hymers are expensive and sometimes difficult to source.
 
Example Of Expenses
 
  • Breakdown cover: £150
  • Brake disc & pads change: £250
  • Brake fluid change: £25
  • Cambelt: £250
  • Carbon monoxide alarm: £50
  • Domestic 3-way fridge with freezer compartment + installation: £500
  • Fiamma Double bike rack: £250
  • Fiamma wind-out awning + installation: £750
  • Flooring + installation: £1000+
  • Fuel (300 miles): £80
  • Habitation check: £180
  • Immobiliser: £250
  • Insurance Cost: £250
  • Large roof light window + installation: £350
  • Mixer tap: £40
  • MOT: £55
  • Reconditioning the gearbox: £2000 (this was my biggest unexpected expense)
  • Reversing camera + installation: £300
  • Road tax: £250
  • Solar panel + two leisure batteries + inverter + installation: £1500
  • Satellite tv system + installation: £500 to £2,500
  • Spare wheel: £65
  • Steering wheel lock: £150
  • Thetford electric flush cassette toilet + installation: £550
  • Timing belt + installation: £500
  • Tow bar + installation: £750
  • Washbasin: £30
  • Waterpump leak: £50
  • Upholstery: £1000 to £2000
 
I could have spent another 24 hours adding expenses for a motorhome, but I think you get the gist.
 
The “gist” is – do NOT look upon your motorhome as an “asset”, because it’s not. Assets put money in your bank account. Your motorhome will be a money drain, but that’s not a bad thing when you factor in the money saved from taking expensive holidays abroad. 
 
Labour work done by a dealer can be eye-wateringly expensive, so use a local garage.  Use a garage that has been personally recommended to you. Ask neighbours. Ask friends. Ask for recommendations on local Facebook groups you belong to.
 
It’s really important not to be frightened of telling the seller that it may take you 3 to 4 hours to look around thoroughly, skimping on time looking could cost you thousands of pounds and waste countless hours of your life getting stuff fixed! 
 
You have an “inbuilt alarm” that will go off in your mind within 5 minutes of viewing the Hymer if your subconscious senses anything wrong. Trust your first hunch. Even if you’ve travelled halfway across the country, walk away. 
 
It’s easy to get carried away with the excitement of buying, so make sure you have this 59-point checklist on your phone (or print it out). Take a small notepad and pen, and add anything else that comes to mind. 
 
Don’t rush! A proper inspection should take you at least an hour. Don’t let the seller rush you. If the seller is rushing you, I suggest you rush away from him/her as fast as you can in the opposite direction (they are definitely hiding something from you).
 
The owner should be open, friendly, and extremely keen to show you around their home from home. 
 
If you want to make 100% sure the vehicle isn’t a lemon, consider getting an AA vehicle inspection so you learn about hidden problems before you buy.
 
I did this when I purchased my first Hymer motorhome and it gave me tremendous peace of mind. They’ll do a 206-point check for vehicles of any age, even your 30-year-old Hymer, for £200 (or a 155-point check for £150). They’ll provide you with a full photographic report. It’s a detailed physical inspection, including mechanical parts, bodywork checks for accident damage, and a 10-mile road test.
 
The good news is that the seller doesn’t get access to the report. Though, I recommend you ask the AA person not to give any information to the seller. You don’t have to be on location with the AA person, which is very handy if the Hymer is located hundreds of miles away. 

I suppose any manufacturer can produce the occasional “dud”, but I’ve never heard of an early 90’s Hymer having major problems that weren’t put down to reasonable wear and tear.

Hymer motorhomes (even 30-year-old ones) are usually robust and reliable, so if you’ve done your due diligence by following the 59-point checklist, buy with confidence and enjoy!

FAQs

Become A Time Millionaire

I hope that’s helped you in finding the best motorhome for wildcamping. 

If you like this post, want to support my site and would like more time to spend in your motorhome, take a quick peek at Become A Time Millionaire

Recommended Posts